Add workspace and project

How to create monitoring workspaces and projects.

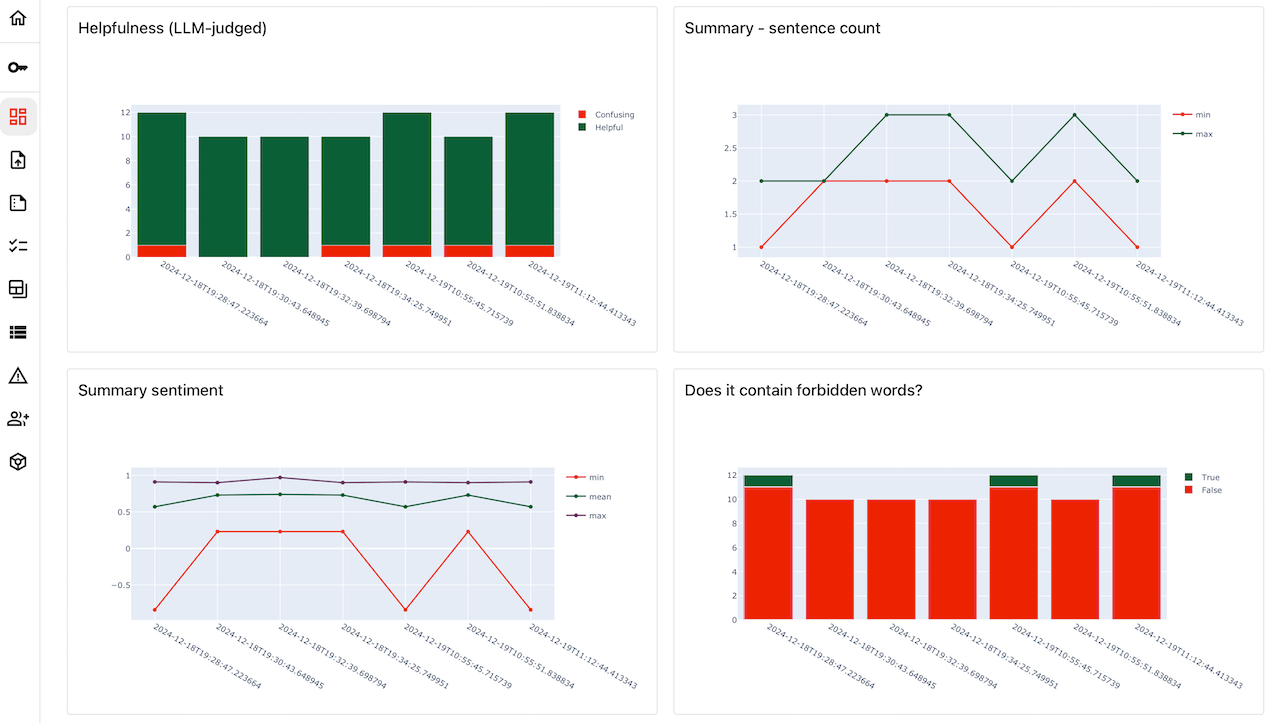
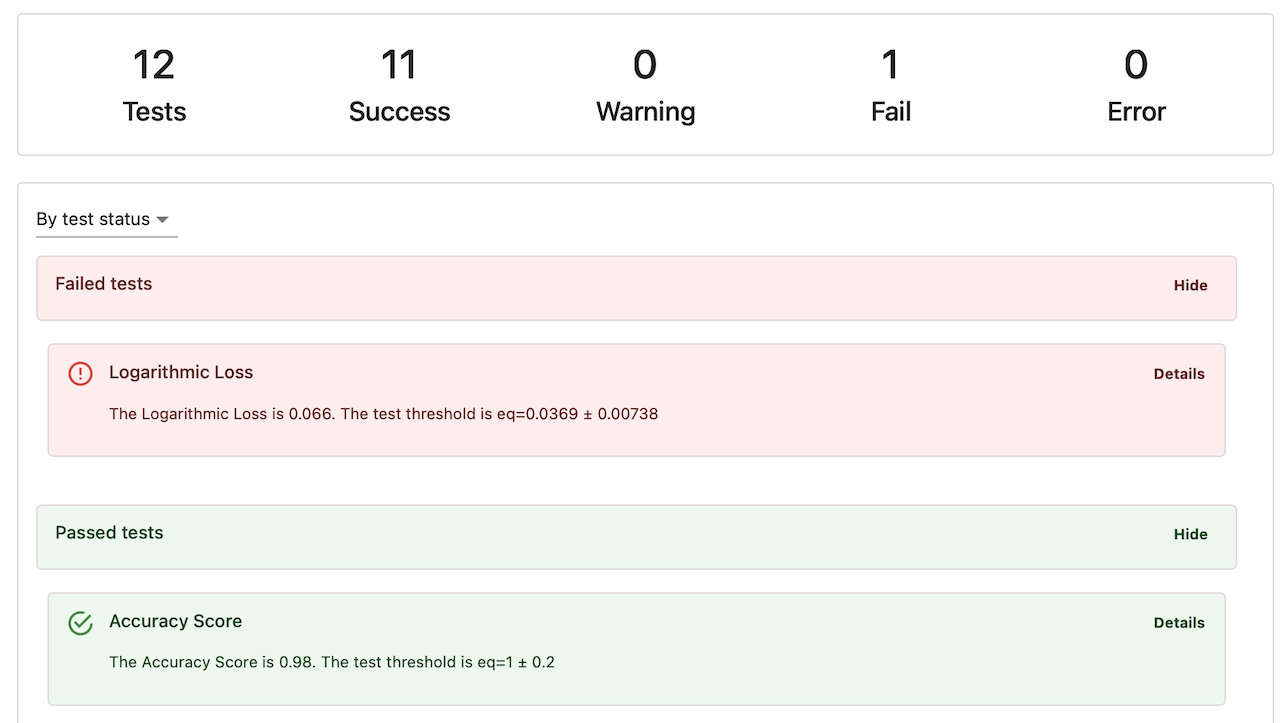
To visualize data in the Evidently ML monitoring user interface, you must capture data and model metrics as Evidently JSON snapshots.

To simplify log organization, you can create a Workspace. Practically, it defines a directory to store the snapshots. This directory will serve as a data source for the Evidently Monitoring UI service. By adding a project to the workspace, you can organize data for individual models.

Snapshots. The next section explains how the Evidently snapshots work.

Code example

Refer to the ML Monitoring QuickStart for a complete Python script that shows how to create a workspace and a project and populate it with toy data.

pageSelf-host ML Monitoring

Local workspace

This section explains how to create a local workspace. In this scenario, you generate and store the snapshots on the same machine.

Create a workspace

To create a workspace and assign a name:

my_workspace = Workspace.create(“evidently_ui_workspace”)

You can pass a path parameter to specify the path to a local directory.

Create a project

You can add a project to a workspace. A project helps gather all Reports and Test Suites associated with the same task in one place.

Each project will have its dedicated dashboard in the monitoring interface.

To create a project and assign a name:

project = my_workspace.create_project(“project name”)

What to group into one project? If snapshots belong to the same project, you can visualize the data from multiple snapshots on the same dashboard panel. You can create one project per ML model, but this is not a strict rule. For example, you can log the performance of a model deployed in shadow mode to the same project as an active model. Or, you can store data on multiple related models together. In this case, you can use tags to organize them.

Project parameters

You can pass the following parameters to a project:

ParameterDescription

name: str

Project name.

id: UUID4 = Field(default_factory=uuid.uuid4)

Unique identifier of the project. Assigned automatically.

description: Optional[str] = None

Optional description. It will be visible in the interface when you browse projects.

dashboard: DashboardConfig

Configuration of the project dashboard. It describes the monitoring panels which will appear on the dashboard. Note: Explore the Dashboard Design section for details. There is no need to explicitly pass DashboardConfig as a parameter if you use the .dashboard.add_panel method.

date_from: Optional[datetime.datetime] = None

Start DateTime of the monitoring dashboard. By default, Evidently will show all available periods based on the snapshot timestamps. You can set a specific date or a relative DateTime. For example, to refer to the last 30 days: from datetime import datetime, timedelta datetime.now() + timedelta(-30) When you view the dashboard, the data will be visible from this start date. You can switch to other dates in the interface.

date_to: Optional[datetime.datetime] = None

End datetime of the monitoring dashboard. Works the same as above.

Save project

To save changes made to a project, you must use the method save().

For instance, after you create a project, add a name and description, and define monitoring panels, you must save the project to record the changes in the workspace.

project.save()

Designing monitoring panels. To understand how to design monitoring panels, head to this section in the docs.

Log snapshots

Once you create a project within a workspace, you can add Reports, Test Suites, or snapshots to a project.

Here is how you add a Report and Test Suite to an earlier created project.

my_workspace.add_report(my_project.id, my_report)
my_workspace.add_test_suite(my_project.id, my_test_suite)

When you add a Report or a Test Suite to a project, Evidently will automatically save a snapshot. There is no need to generate a snapshot explicitly.

If you already generated a snapshot, you can add it as well:

my_workspace.add_snapshot(my_project.id, snapshot.load("data_drift_snapshot.json")) 

[DANGER] Delete workspace

If you want to delete an existing workspace, run the command from the Terminal:

cd src/evidently/ui/
rm -r workspace

Use this command to delete an empty workspace from the interface or a test project.

Note: this command will delete the snapshots stored in the folder. To maintain access to the generated snapshots, you must store them elsewhere.

Workspace API Reference

All available methods in the class Workspace:

create_project(self, name: str, description: Optional[str] = None) 
add_project(self, project: ProjectBase) 
add_report(project.id, report)
add_test_suite(project.id, test_suite)
add_snapshot(self, project_id: Union[str, uuid.UUID], snapshot: Snapshot)
get_project(self, project_id: Union[str, uuid.UUID])
list_projects(self) 
search_project(self, project_name: str)

Remote Workspace

You can also use a remote workspace. In this scenario, you can generate the snapshots locally and (using the add_snapshot, add_test_suite, add_report commands) send it to the remote server where you run the Monitoring UI. You can use the remote workspace API to create and manage projects.

To create a remote workspace (UI should be running at this address):

workspace = RemoteWorkspace("http://localhost:8000")

You can pass the following parameters:

ParameterDescription

self.base_url = base_url

URL for the remote UI service.

self.secret = secret

String with secret, None by default. Use it if access to the URL is protected by a password.

The rest of the workdpace functionality and methods are the same.

Remote snapshot storage

You can also save snapshots in a remote data store and access it from the UI service. To connect to data stores, Evidently uses fsspec that allows accessing data on remote file systems via a standard Python interface. You can verify supported data stores in the [Fsspec documentation](https://filesystem-spec.readthedocs.io/en/latest/api.html#built-in-implementations](https://filesystem-spec.readthedocs.io/en/latest/api.html#other-known-implementations ).

For example, to read snapshots from an S3 bucket (in this example we have MinIO running on localhost:9000), you must specify environment variables:

FSSPEC_S3_ENDPOINT_URL=http://localhost:9000/
FSSPEC_S3_KEY=my_key FSSPEC_S3_SECRET=my_secret
evidently ui --workspace s3://my_bucket/workspace

Code example

Refer to the service example:

Last updated