Get Started Tutorial
Last updated
Last updated
In this tutorial, you will use Evidently to evaluate data and target drift.
We suggest going through this tutorial once to understand the key tool functionality on a toy dataset. Once you’ve completed it, you can further explore more advanced features such as report customization and real-time monitoring.
To complete the tutorial, you need basic knowledge of Python and familiarity with notebook environments. You should be able to complete it in under 10 minutes.
You can reproduce the steps in Jupyter notebooks or Colab manually, or run the sample notebooks.
Colab:
Jupyter notebook:
If you prefer a video version, here is a 10-min Quick Start on how to generate Data and Target Drift reports and JSON profiles in the Jupyter notebook.
In this tutorial, you will go through the following steps:
Install Evidently
Prepare the data
Generate data drift dashboards
Generate prediction drift dashboards
Generate JSON profiles
To install Evidently using the pip package manager, run:
If you want to see reports inside a Jupyter notebook, you need to also install the Jupyter nbextension. After installing evidently
, run the two following commands in the terminal from the Evidently directory.
To install jupyter nbextension, run:
To enable it, run:
That's it!
To install evidently
, run the following command in the notebook cell:
Unfortunately, building reports inside a Jupyter notebook is not yet possible for Windows. You can still install Evidently and use it to generate reports as a separate HTML file.
To install Evidently, run:
After installing the tool, import evidently
and the required tabs. Each tab corresponds to a specific report type. In this example, you'd use 2 different reports.
What is included in the reports? You can explore Reports section to understand the components, statistical tests and metrics included in each report by default.
In this example, you will work with pandas.DataFrames
. For simplicity, we take a toy dataset. In the real use case, you can swap it for the real model application logs. They can include the input data, model predictions and true labels, if available.
Create a pandas.DataFrame
with the dataset to analyze:
To evaluate data or prediction drift, you would need two datasets to perform a comparison. The first dataset is the baseline: this can often be the data used in training. We call it the reference data. The second dataset is the current production data.
You can prepare two separate datasets with identical schema. You can also proceed with one dataset but explicitly identify rows that refer to reference and current data.
You can do this to generate the first report. Split the data: treat the first 75 rows as the reference, and the remaining as the current data.
Column_mapping. In this example, we directly proceed to display the dashboard. In other cases, you might need to add column_mapping dictionary to help Evidently process the input data correctly. For example, you can point to the encoded categorical features, or the name of the target column. Consult the Column Mapping section for help.
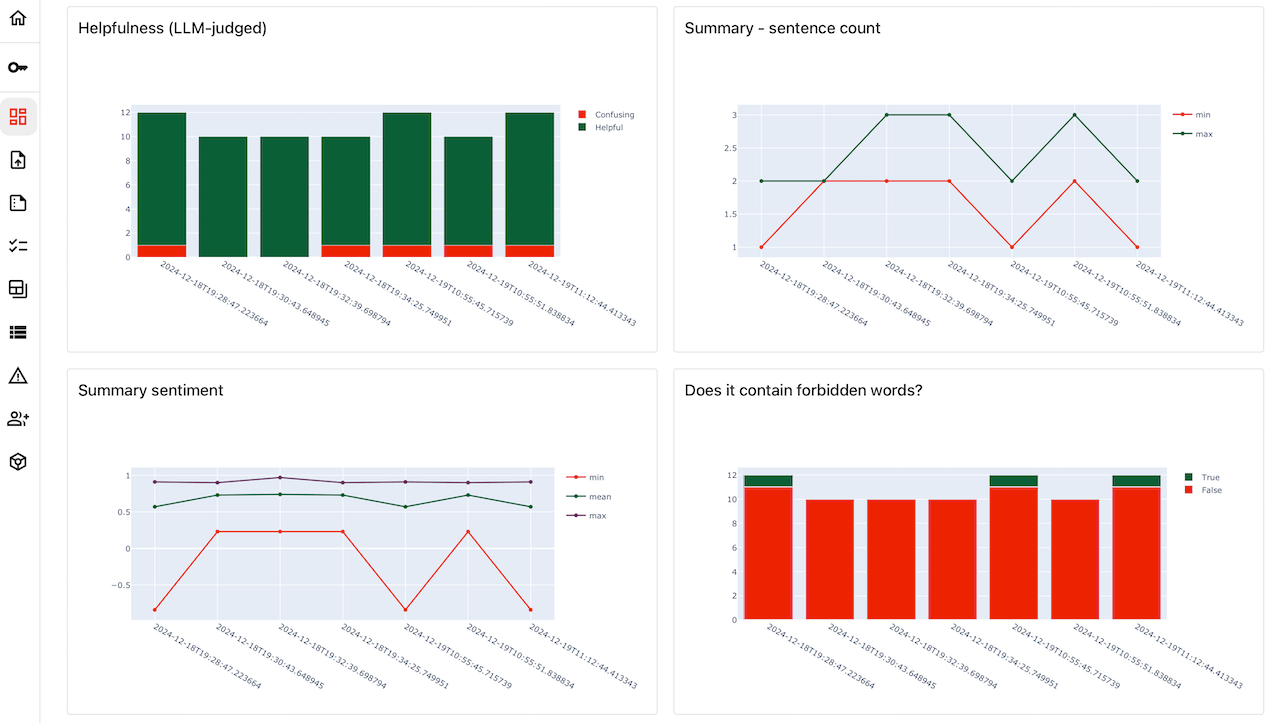
Data drift dashboard runs statistical tests to compare the data distributions for each feature and helps visualize the change. Understanding the data shift can serve as a proxy of model performance, especially if you do not have the true labels yet.
To generate the Data Drift dashboard, run:
If you use Jupyter notebook or Colab, the report will appear directly in the notebook.
You can also save it as an HTML file externally. If you get a security alert, press "trust html".
To see the report, go to the specified directory and open the file.
This might work slightly differently in other notebook environments. In some environments, like Jupyter lab, you might not be able to display the dashboard directly in the cell. In this case, try exporting the file as an HTML. In other notebooks like Kaggle and Deepnote, you might need to explicitly add an argument to display the report inline: iris_data_drift_report.show(mode='inline'). Consult this section for help.
Next, you will generate a Target Drift dashboard.
There are two use cases for this report. If you have the model predictions, you can use this report to evaluate the prediction drift. This will help see if there is a statistically significant change in the model outputs: for example, if a certain category is predicted more frequently. If you have the true labels, you can use the report to evaluate target drift. This will help see if the concept behind the model has evolved: for example, if a certain label in fact appears more frequently.
In the toy dataset, we already have the true labels. Let us treat it as such, and add the target column to the initial dataset.
This toy dataset is meant to perform a classification task, and the target is categorical. You should use the Categorical Target Drift report.
To generate the Target Drift report, run:
Large reports might take time to load. In this simple example, we work with a small dataset, so the report should appear quickly. If you use a larger dataset, the report might take time to show, since it contains the data needed for interactive plots. The size limitation depends on your infrastructure. In this case, we suggest applying sampling to your dataset. In Jupyter notebook, that can be done directly with pandas.
You might have noticed that the Target Drift dashboard is quite long and includes a lot of visualizations to explore relationships between the features and the target. You don't always need them all. You can then generate a shorter version of the dashboard.
A complete dashboard corresponds to the verbose_level=1. To get a shorter version of a dashboard, set the verbose_level to 0.
Report Customization. You can make other changes to the default Evidently reports, for example to change the statistical test or other options, or add a custom widgets. To explore this advanced functionality, head to Customization section.
There are more report types!
If you have both the predictions and true labels, you can also generate the model performance dashboard. It helps explore the model quality and understand the errors. In our case, we could have generated a Classification Performance or Probabilistic Classification Performance reports.
We skip this step in the quick tutorial. It would require us to train a model and generate the predictions we can compare with the true labels. You can instead explore the sample notebooks in the examples section that do just that.
If you have a regression task, Evidently has matching dashboard tabs for Numerical Target Drift and Regression Model Performance.
We plan to add more report types in the future.
Dashboards documentation. To see the complete guide to using Dashboards for future reference, you can always consult Dashboards section of documentation.
Interactive reports are best for visual analysis, model performance debugging, or sharing with the team. However, they are not that convenient if you want to integrate Evidently calculations in the prediction pipeline.
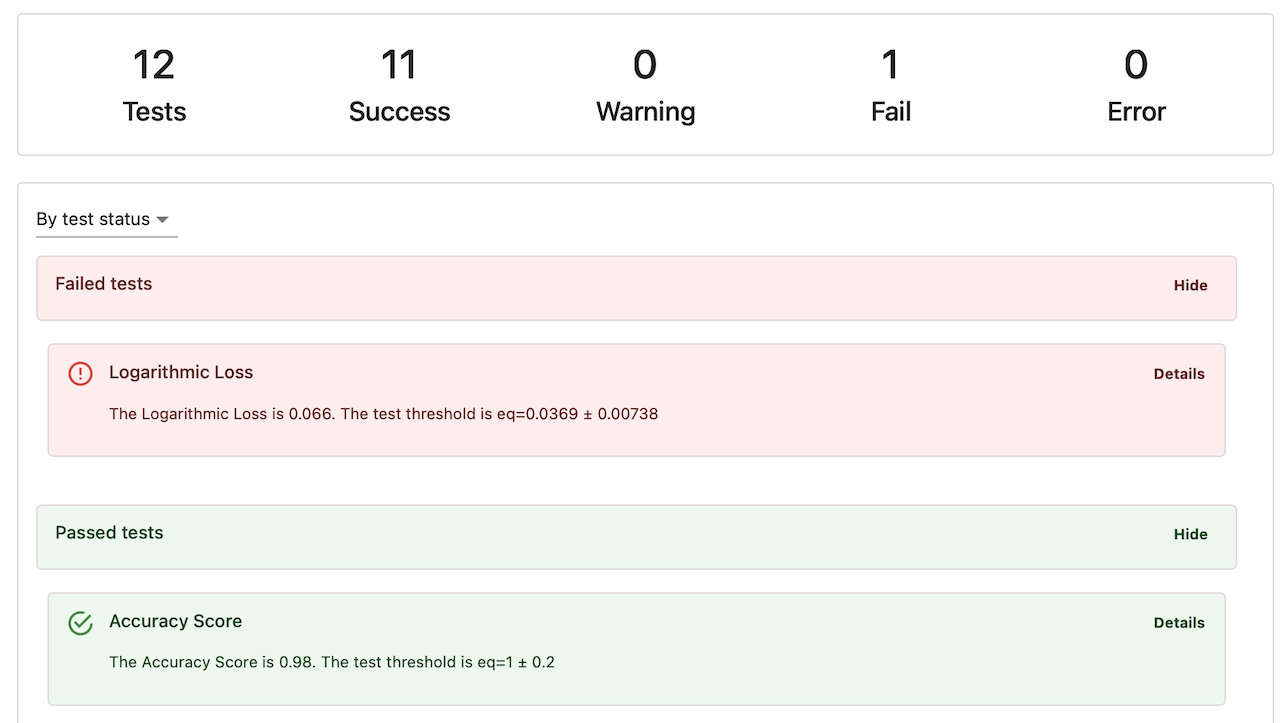
In this case, we suggest using JSON profiles. They help profile the data and model performance and get the summary of metrics and simple histograms as a JSON. You can log it for future analysis, or design a conditional workflow based on the result of the check (e.g. to trigger alert, retraining, or generate a visual report).
Profiles behave very similarly to the dashboards. Just like Dashboards
have Tabs
, Profiles
have Sections
.
First, you should import the required Profiles.
To generate the Data Drift and the Categorical Target Drift profiles, run:
The JSON profile will show directly in the notebook.
There is also Command-line interface in case you want to generate HTML dashboards or JSONs from the Terminal without opening the notebook.
JSON profiles documentation. To see the complete guide to using JSON profiles for future reference, you can always consult Profiling section of documentation.
While you can treat JSON profile as a "text version" of the report to look at, it is intended for use together with other tools as part of the ML pipeline. We suggest exploring Integrations section of the documentation to see how you can use it in your machine learning workflow with tools like MLflow and Airflow to log and profile the models and data.
If you have a deployed ML service and want to collect data and model metrics on top of the live data stream, you can explore the integration with Grafana and Prometheus. In this case, Evidently acts as a monitoring service. You can configure the options to define more sophisticated logic as such size of the reference windows, moving reference, etc. It also comes with pre-built Grafana dashboards that act as a version of Evidently dashboards meant for real-time monitoring.
Evidently is in active development, so expect things to change and evolve. You can subscribe to the newsletter or follow our releases on GitHub to stay updated about the latest functionality.
We run a Discord community to connect with our users and chat about ML in production topics.
In case you have feedback or need help, just ask in Discord or open a GitHub issue.
And if you want to support a project, give us a star on GitHub!